Are you ready to breathe new life into a dated 1950s bathroom while honoring its mid-century soul? Remodeling a 50s-style bathroom offers the perfect opportunity to blend timeless design with modern convenience. Whether you’re looking to preserve the pink tiles or replace old plumbing fixtures with efficient alternatives, this comprehensive guide walks you through every step of a 50s bathroom remodel—beautifully and efficiently.
Why Remodel a 50s Bathroom?
Bathrooms built in the 1950s are often packed with character—think pastel-colored tiles, built-in vanities, and retro fixtures. However, they may also come with outdated layouts, insufficient lighting, or water-wasting plumbing. Remodeling allows you to:
- Improve functionality and storage
- Upgrade to energy-efficient fixtures
- Add modern comfort while preserving vintage charm
- Increase home value
Key Features of a 1950s Bathroom
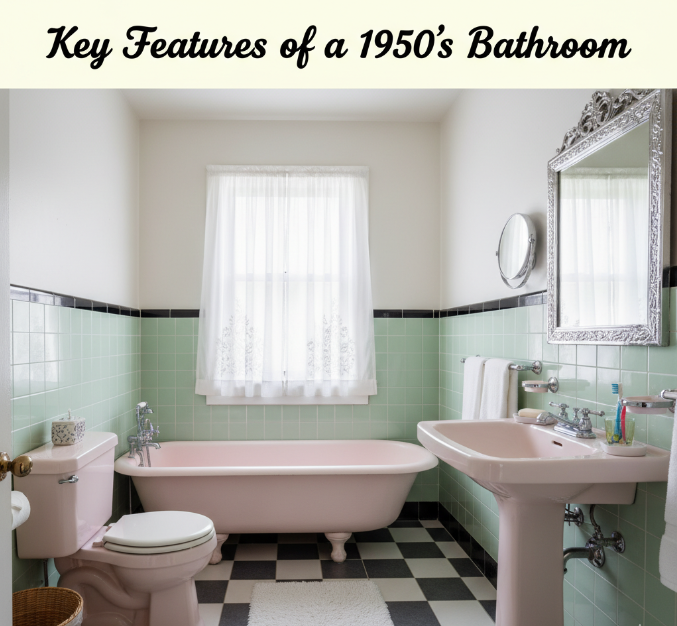
Before diving into the remodel, it’s essential to recognize what gives a 50s bathroom its charm:
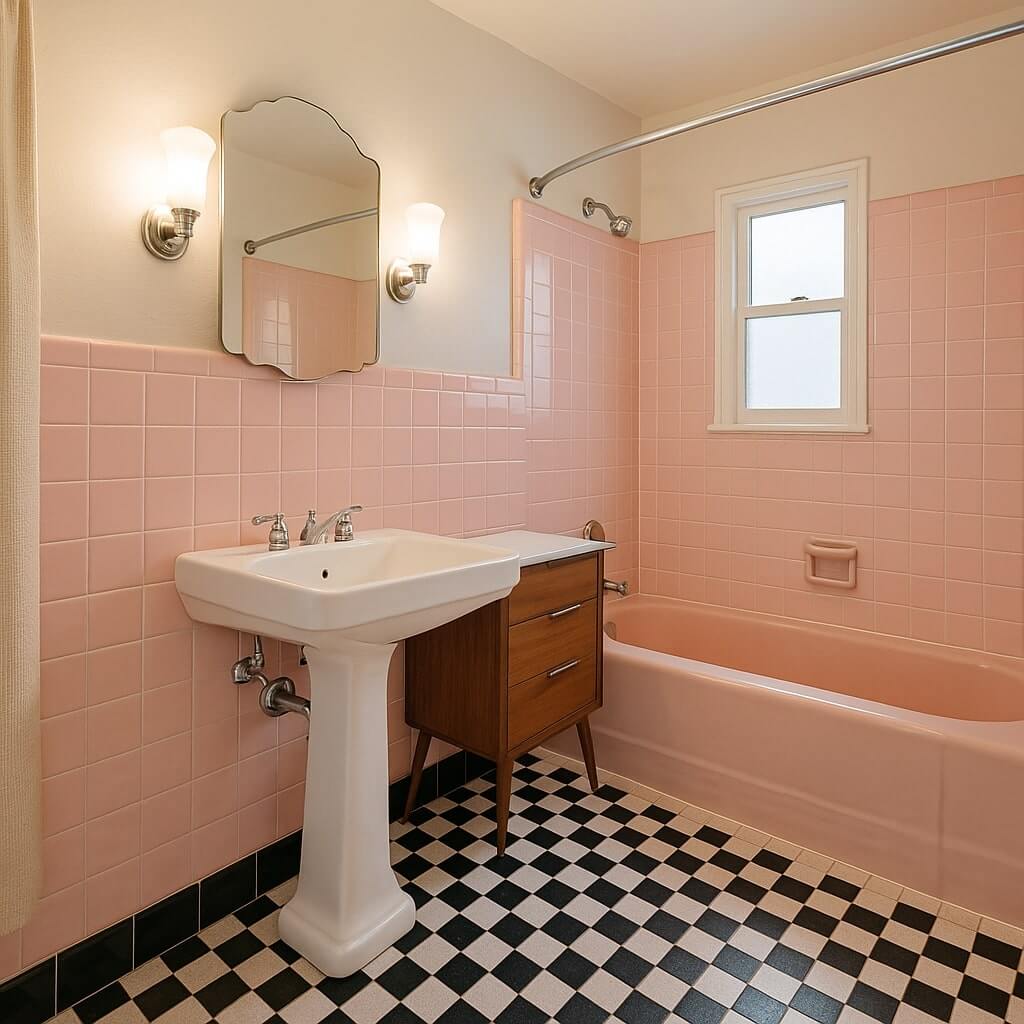
- Pastel Tilework: Pink, mint green, turquoise, butter yellow.
- Checkerboard Floors: Often black-and-white or colorful linoleum.
- Wall-Mounted Sinks or Vanities: Sometimes with metal trim.
- Cast Iron Tubs: Heavy, durable, and sometimes color-matched to the tile.
- Retro Fixtures: Push-button light switches, scalloped lighting, chrome towel bars.
Planning Your Remodel: Step-by-Step
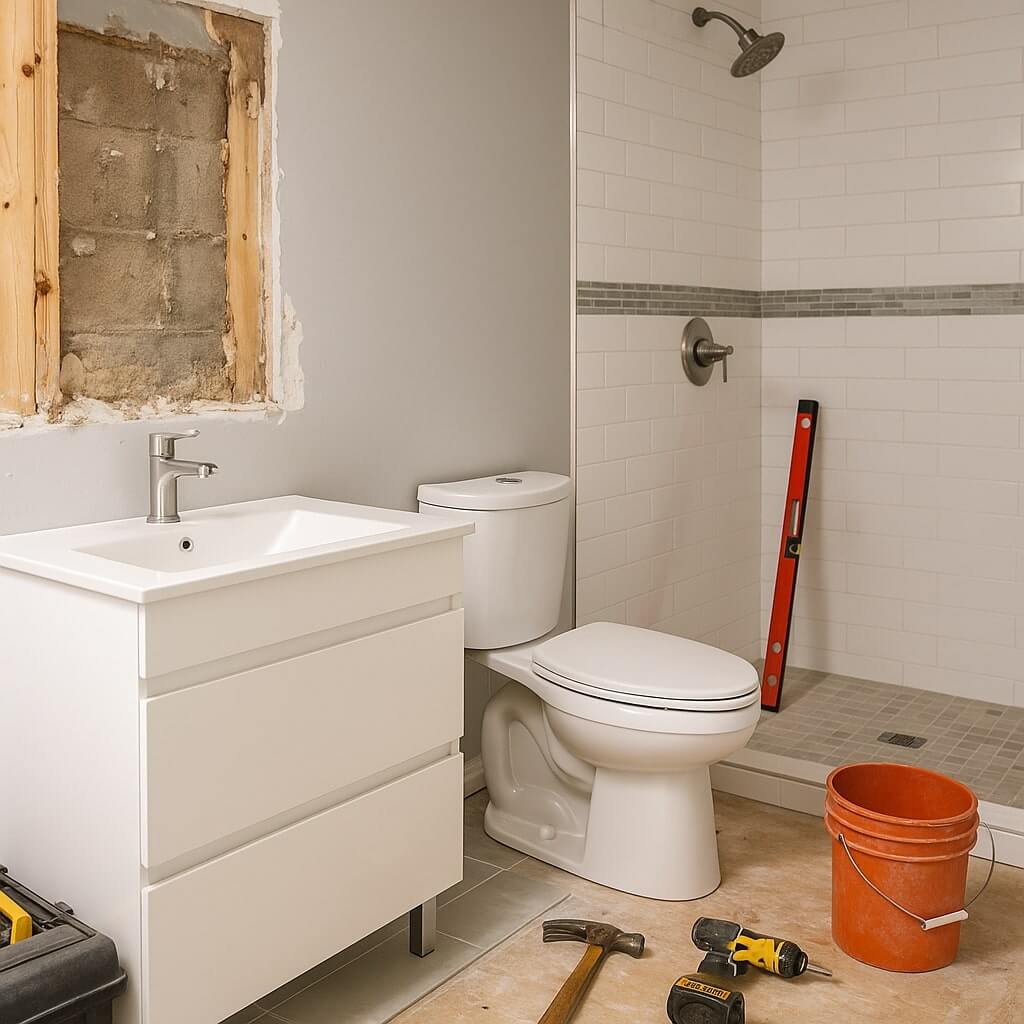
1. Assess the Existing Structure
Inspect the plumbing, electrical wiring, and tilework. Identify problem areas such as mold, leaks, or inefficient layout.
2. Set a Budget
Typical 50s bathroom remodels range from $8,000 to $20,000, depending on the extent. Allocate funds for:
- Fixtures & materials
- Labor
- Permits
- Unexpected repairs
3. Choose a Design Style
You can stay true to the 1950s aesthetic or opt for a modern twist:
- Vintage Revival: Keep colored tiles and vintage mirrors, but install new retro-look fixtures.
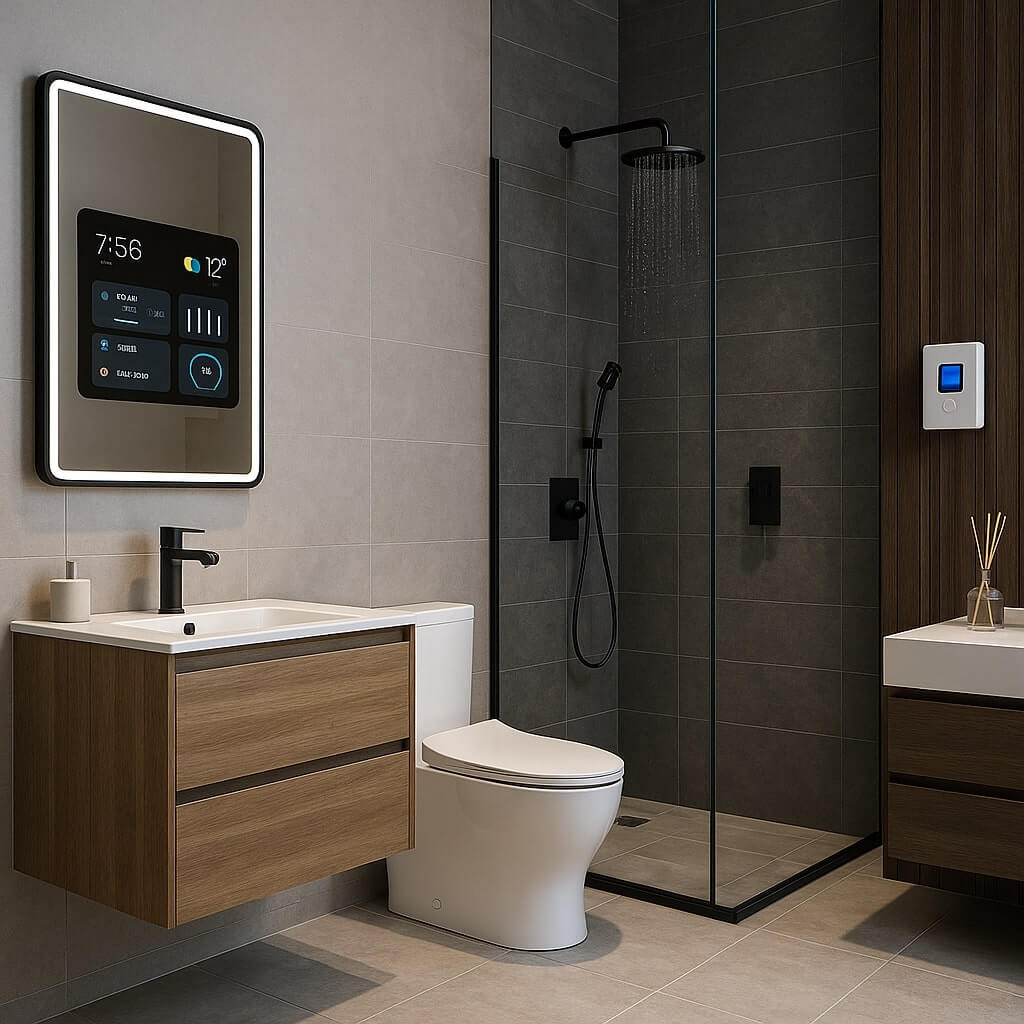
- Modern Mid-Century: Replace old elements with updated versions inspired by the era (e.g., wood vanities with tapered legs).
4. Update Plumbing & Electrical
Behind-the-wall work is critical. Replace old pipes and update to GFCI outlets for safety.
5. Select Materials Thoughtfully
- Tile: Subway or mosaic tiles are both era-appropriate and timeless.
- Vanity: Choose walnut or birch with clean lines.
- Lighting: Recessed lighting for modern touch, or globe sconces for retro vibe.
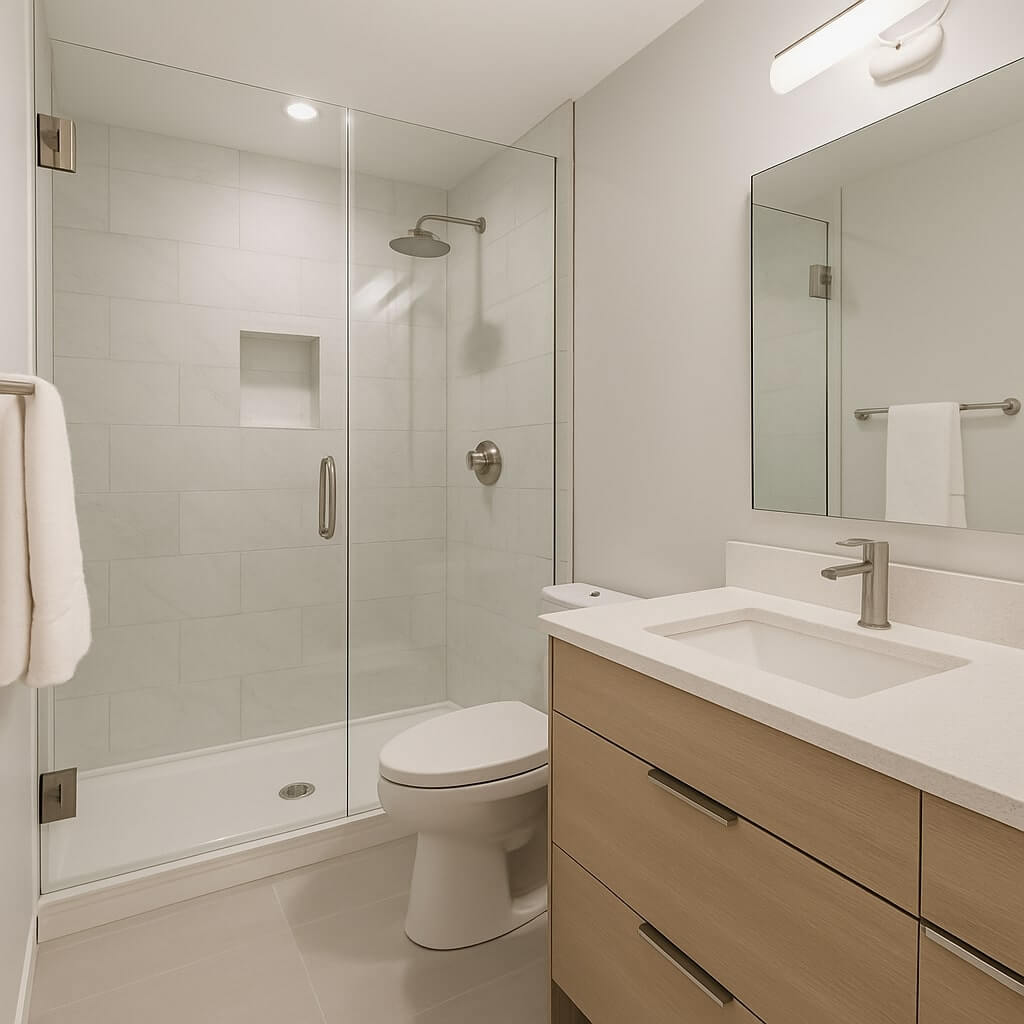
Popular Design Ideas for 50s Bathroom Remodels
| Element | Idea |
|---|---|
| Wall Color | Soft pastels, bold wallpaper, or neutral white for balance |
| Flooring | Penny round tile, hexagon tiles, or checkerboard patterns |
| Sink & Vanity | Wall-hung retro-style sinks or minimalist floating vanities |
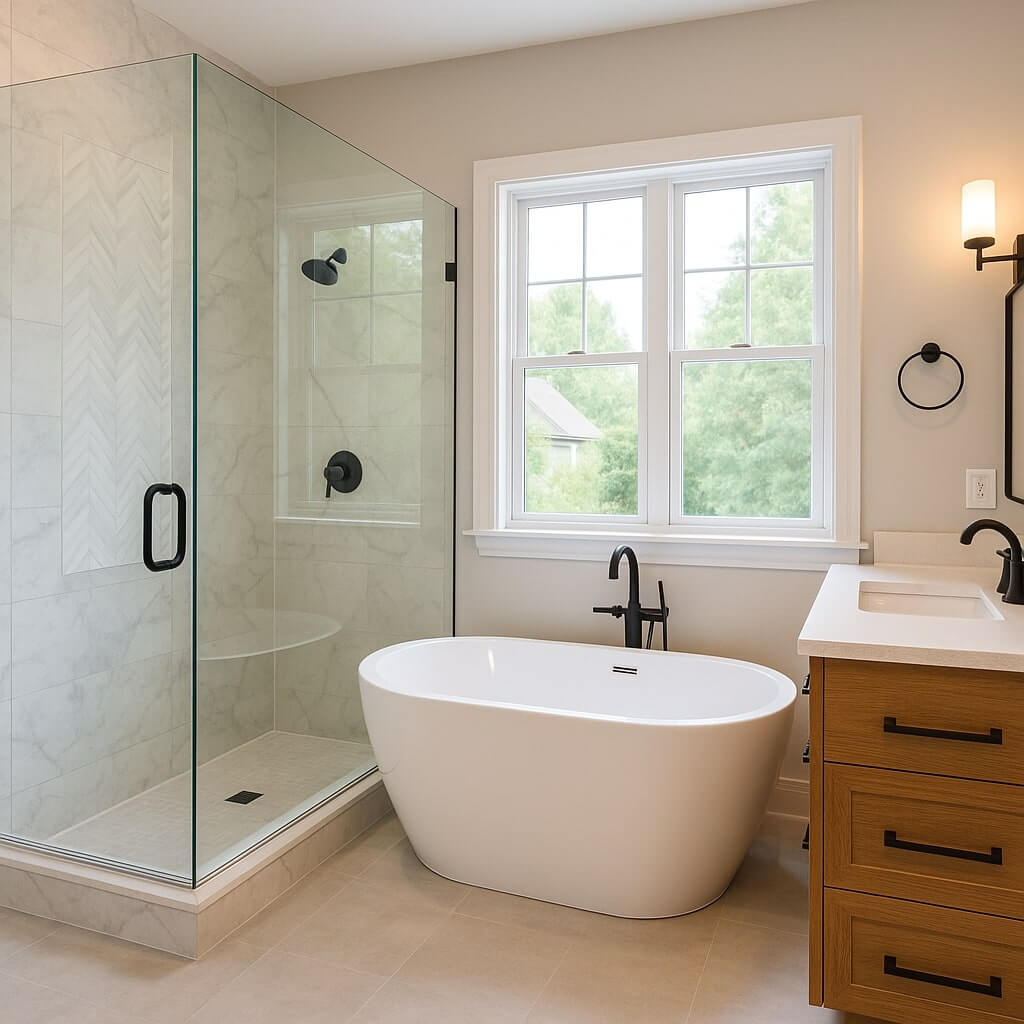
| Tub/Shower | Reglazed original tub, or new acrylic replica with classic curves |
| Mirrors | Scalloped-edge or medicine cabinets with sliding mirrors |
Sustainability Tips

- Low-flow fixtures help conserve water.
- LED lighting saves energy and lasts longer.
- Repurposing original tile reduces waste and keeps the retro charm.
Before and After: Realistic Expectations
A 50s bathroom remodel can drastically improve both aesthetics and function. Expect a transformation timeline of 4–8 weeks, depending on contractor availability and custom materials.
SEO-Optimized FAQs
What colors were popular in 1950s bathrooms?
Should I keep the original tile in my 50s bathroom remodel?
How much does it cost to remodel a 1950s bathroom?
Can I do a 50s bathroom remodel on a budget?
What modern features can blend well with 50s design?
Final Thoughts
A 50s bathroom remodel doesn’t have to mean stripping away all its character. Instead, use the era’s charm as a foundation, layering in modern efficiency and comfort. Whether you’re embracing the full pastel palette or using it as a subtle accent, the end result can be a bathroom that feels both nostalgic and completely fresh.